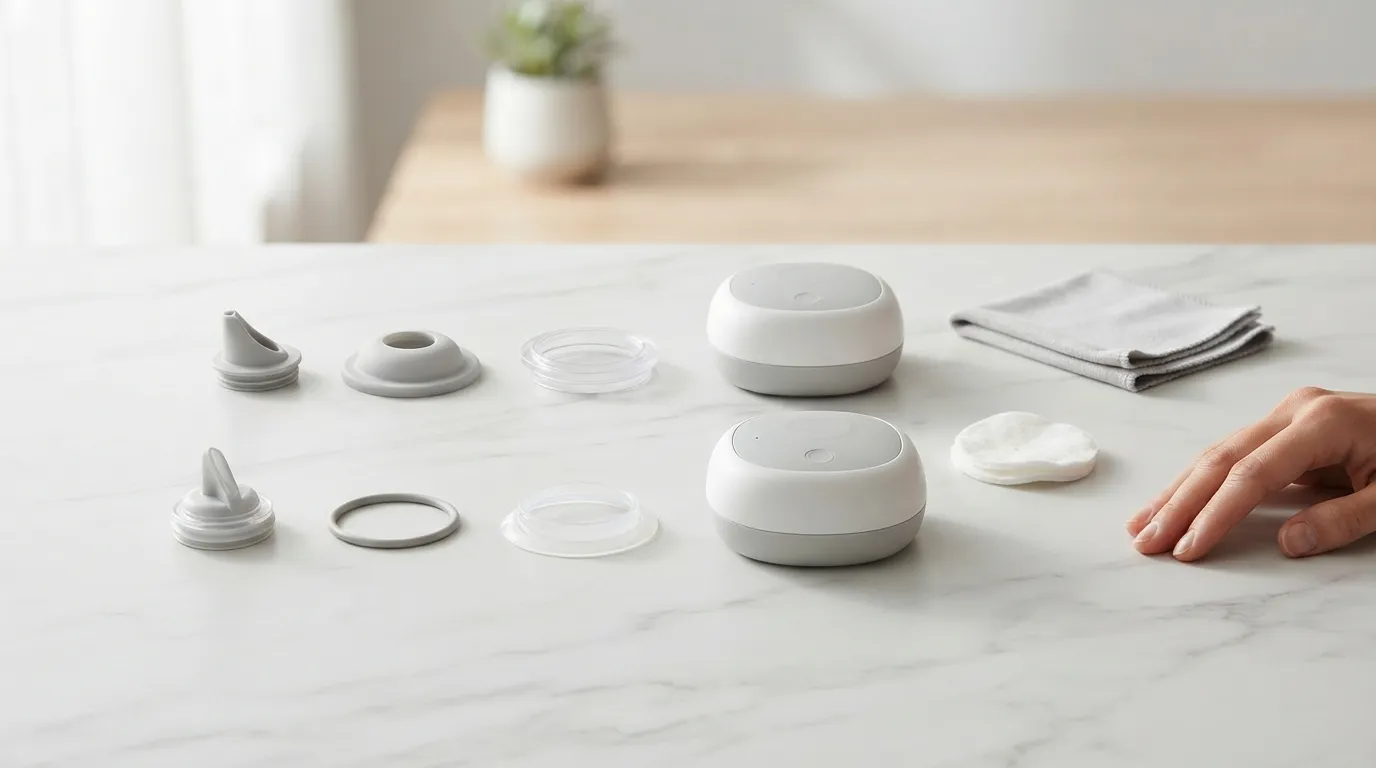

 28 Aug 2026
 3 min read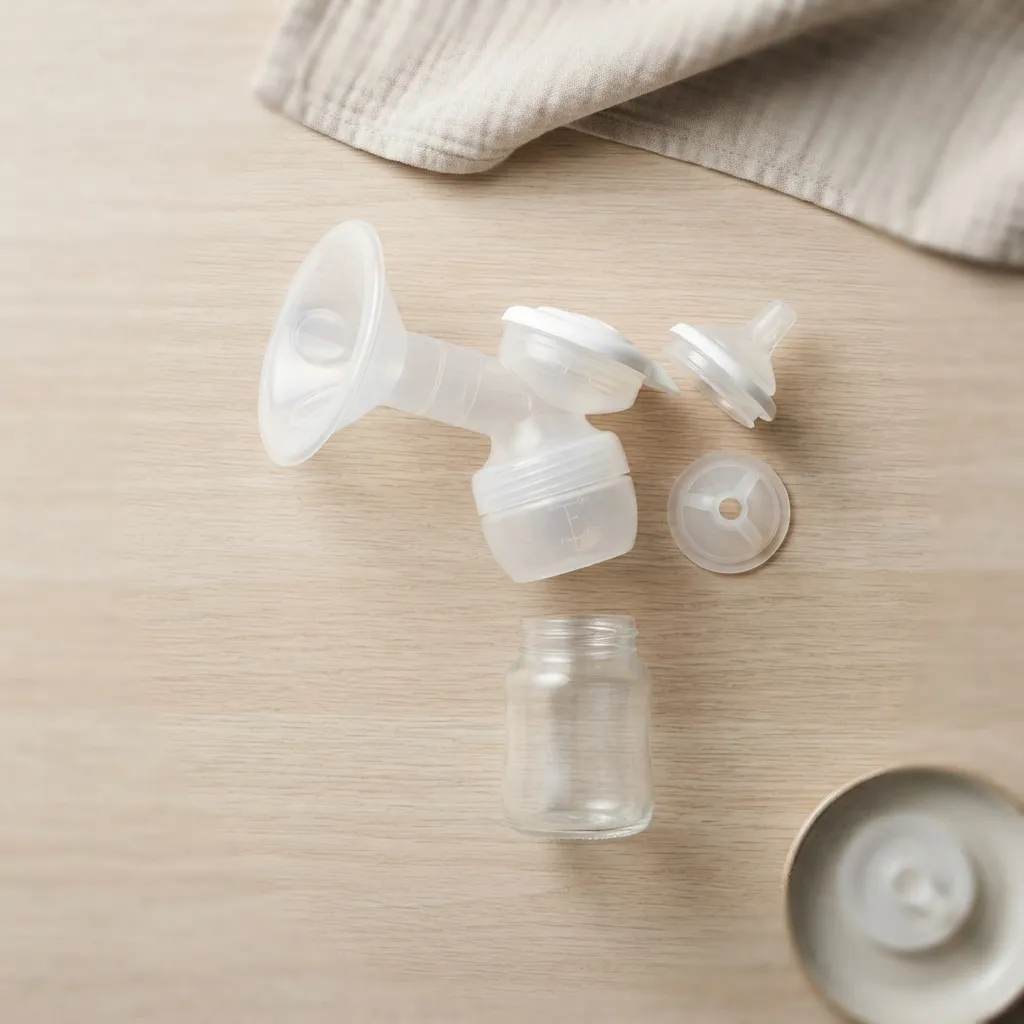
1. Start with the outcome you actually need
Decide whether you need to stop leaks during setup, movement, or pouring. The fix may differ, so note exactly when moisture appears and whether it comes from the flange edge, container seam, valve, or spout.
Your goal is a dry test before committing to a complete pumping session. Keep a towel nearby, but do not treat it as the solution; repeated leaks usually point to alignment, fit, wear, or handling.
2. Set up the simplest workable system
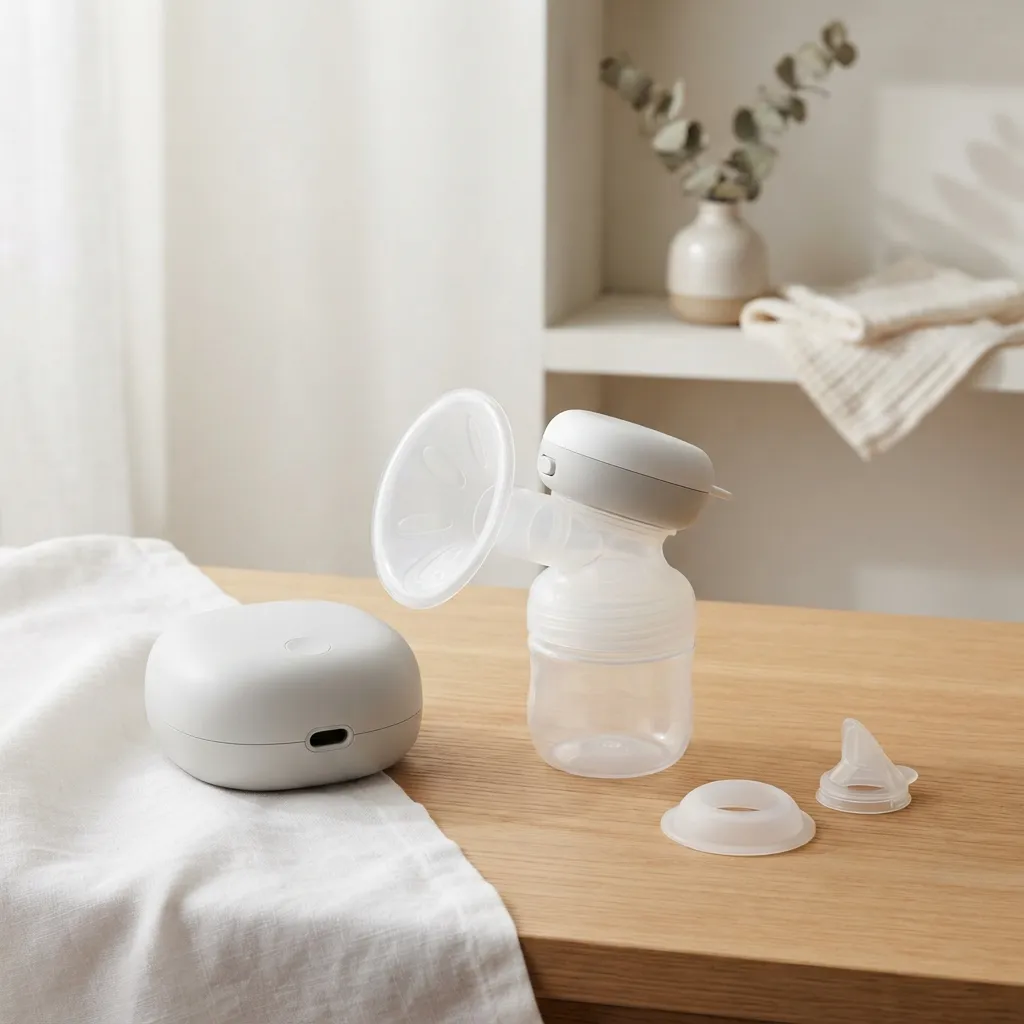
Wash and dry the wearable pump parts according to the manufacturer’s care instructions, then inspect each connection. Check that the valve is seated, the container is closed fully, and the flange or breast shield sits evenly against the breast.
Avoid adding extra layers, inserts, or accessories while troubleshooting unless they are specifically intended for your pump. A simpler setup makes it easier to identify the source of pump leaks. For general nursing essentials, you can also browse Olivia by Lolafo.
3. Follow the process without overcomplicating it
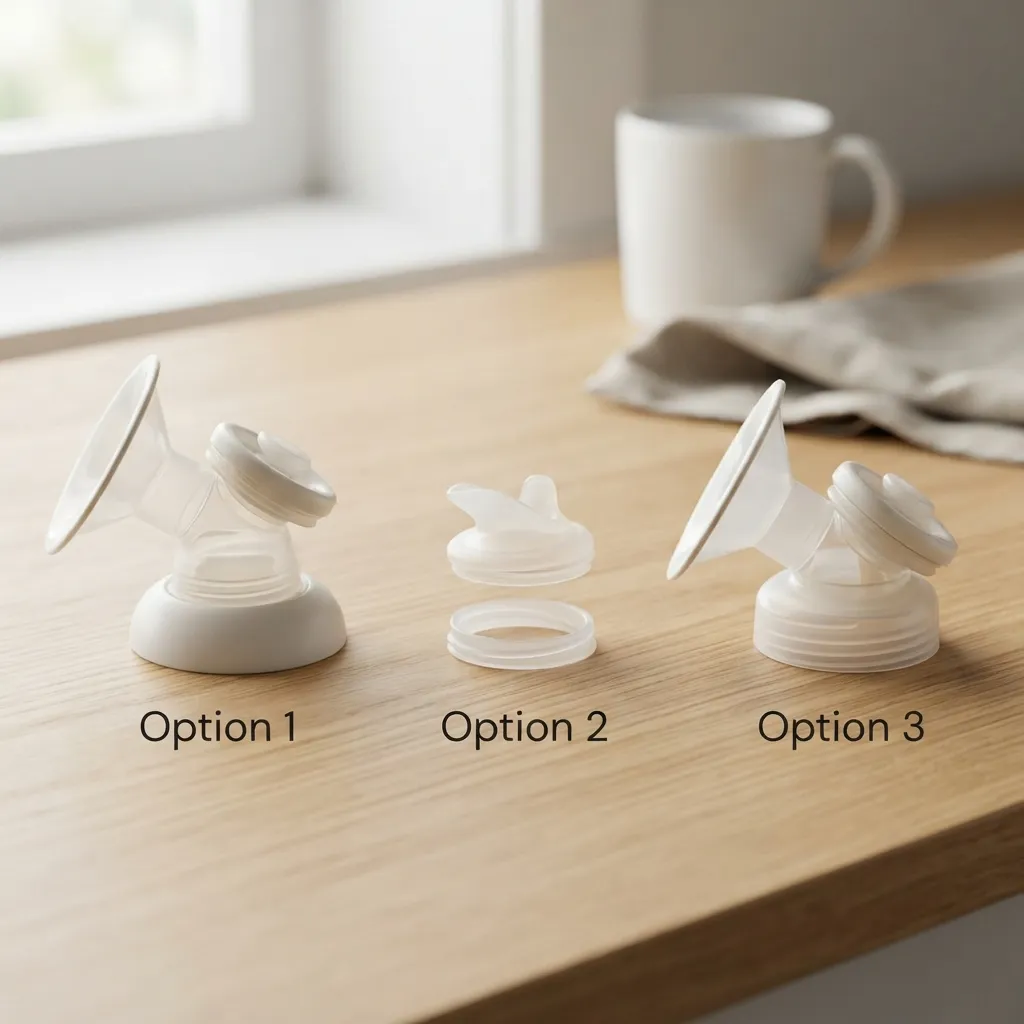
Assemble the hands-free wearable breast pump on a flat surface, then confirm that no part is twisted or folded. Place it carefully, keeping the milk container upright while the pump starts.
Begin with a short test rather than a full session. Sit still first, then stand and take a few normal steps. If the system stays dry, repeat the test with the movement you normally make while pumping.
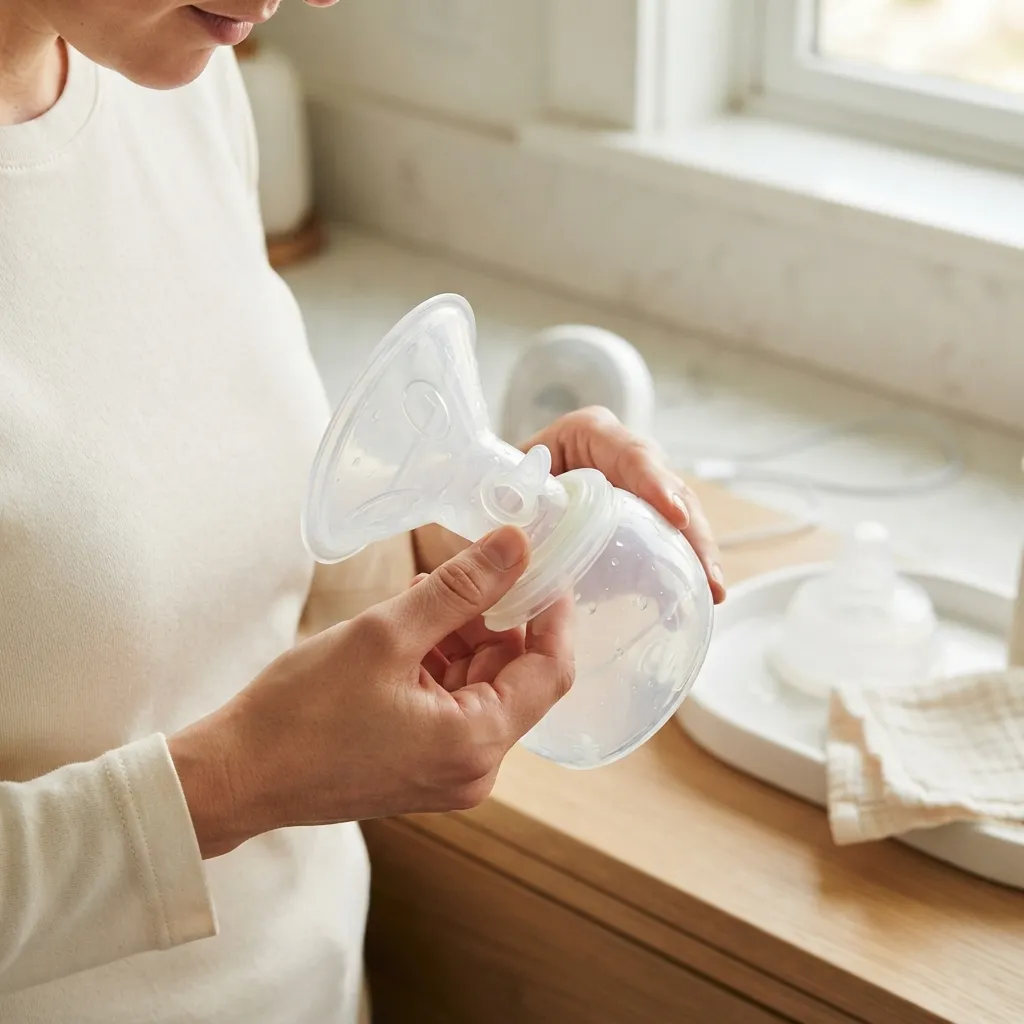
4. Check what is working and what is not
If leaks appear around the flange, remove and reseat the pump so the opening is centered and the seal is even. If milk is escaping from the bottom or side, inspect the valve and container connection instead of repeatedly tightening the bra.
Check the fill level before and during pumping. Overfilling can leave less room for milk and increase the chance of spills when you bend, walk, or remove the pump. Record which movement triggers the problem.
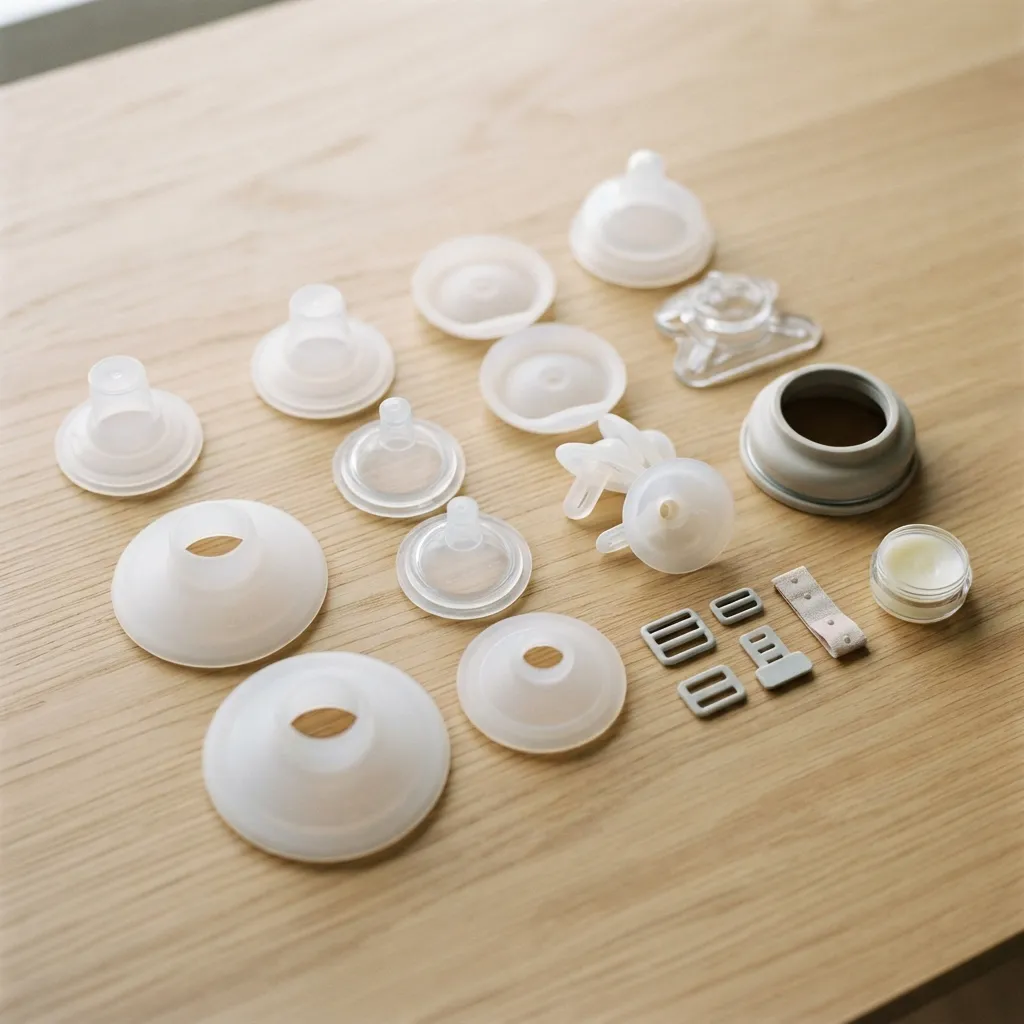
5. Adjust when your situation changes
A pump that worked yesterday may leak today if a valve has softened, a seal is damaged, or the bra applies uneven pressure. Inspect wearable pump parts for cracks, stretching, residue, or parts that no longer sit securely.
If the leak starts only when moving, loosen pressure slightly and reposition the pump. If it starts during pouring, keep the container upright, use a steady hand, and confirm the valve or opening is directed as intended. Review breastfeeding and pumping essentials when replacing or organizing supplies.
6. One more thing that makes a difference
Test the complete system with a small amount of water before risking a full session, if the pump’s care instructions allow water testing. Keep the pump upright, check every seam, then repeat while sitting, standing, and walking.
Do not continue using a component that appears cracked, warped, or unable to seal. Follow the manufacturer’s guidance for replacement wearable pump parts, cleaning, and safe use. You can find more nursing resources at Olivia by Lolafo.
FAQ about pump leaks
What should readers know first about pump leaks?
Most pump leaks are easiest to troubleshoot by identifying when they occur: during setup, movement, overfilling, or pouring. Check alignment, valves, seals, and container position in that order.
How do you choose the right pump leaks approach?
Match the fix to the leak location and timing. Repositioning may help a flange-edge leak, while a worn valve or overfilled container requires a different solution.
What mistakes should you avoid with pump leaks?
Avoid forcing parts together, ignoring a damaged seal, or testing only while sitting still. A hands-free wearable breast pump should be checked in the positions and movements you actually use.
Is pump leaks worth it for daily use?
Reducing pump leaks can make daily pumping less disruptive, but reliability depends on correct assembly, fit, cleaning, and part condition. Stop and reassess if leaks continue after basic checks.
What should you compare before deciding on pump leaks?
Compare the leak point, movement involved, fill level, and condition of the wearable pump parts. These details help distinguish a setup problem from a component that needs attention.
Recommended next steps
1. Run one small test before your next session
Assemble your wearable breast pump, check alignment and valves, and test it briefly in more than one position. If it leaks, isolate one variable at a time rather than changing several parts together.
Meredith Calloway spent four years as a lactation support writer and product researcher before joining the Olivia by Lolafo editorial team, where she covers pumping gear, milk storage, and the unglamorous logistics of feeding a baby in the real world. She approaches every review and how-to the way she’d explain it to a friend texting from a parking lot — with specific numbers, honest trade-offs, and zero filler. Her work draws on published lactation research, hands-on product testing, and direct input from pumping communities including r/ExclusivelyPumping and IBCLC-reviewed sources. If a suction spec matters or a flange fit issue is being undersold by a brand, she’ll say so.
Leave a Reply