
 11 Aug 2026
 9 min read
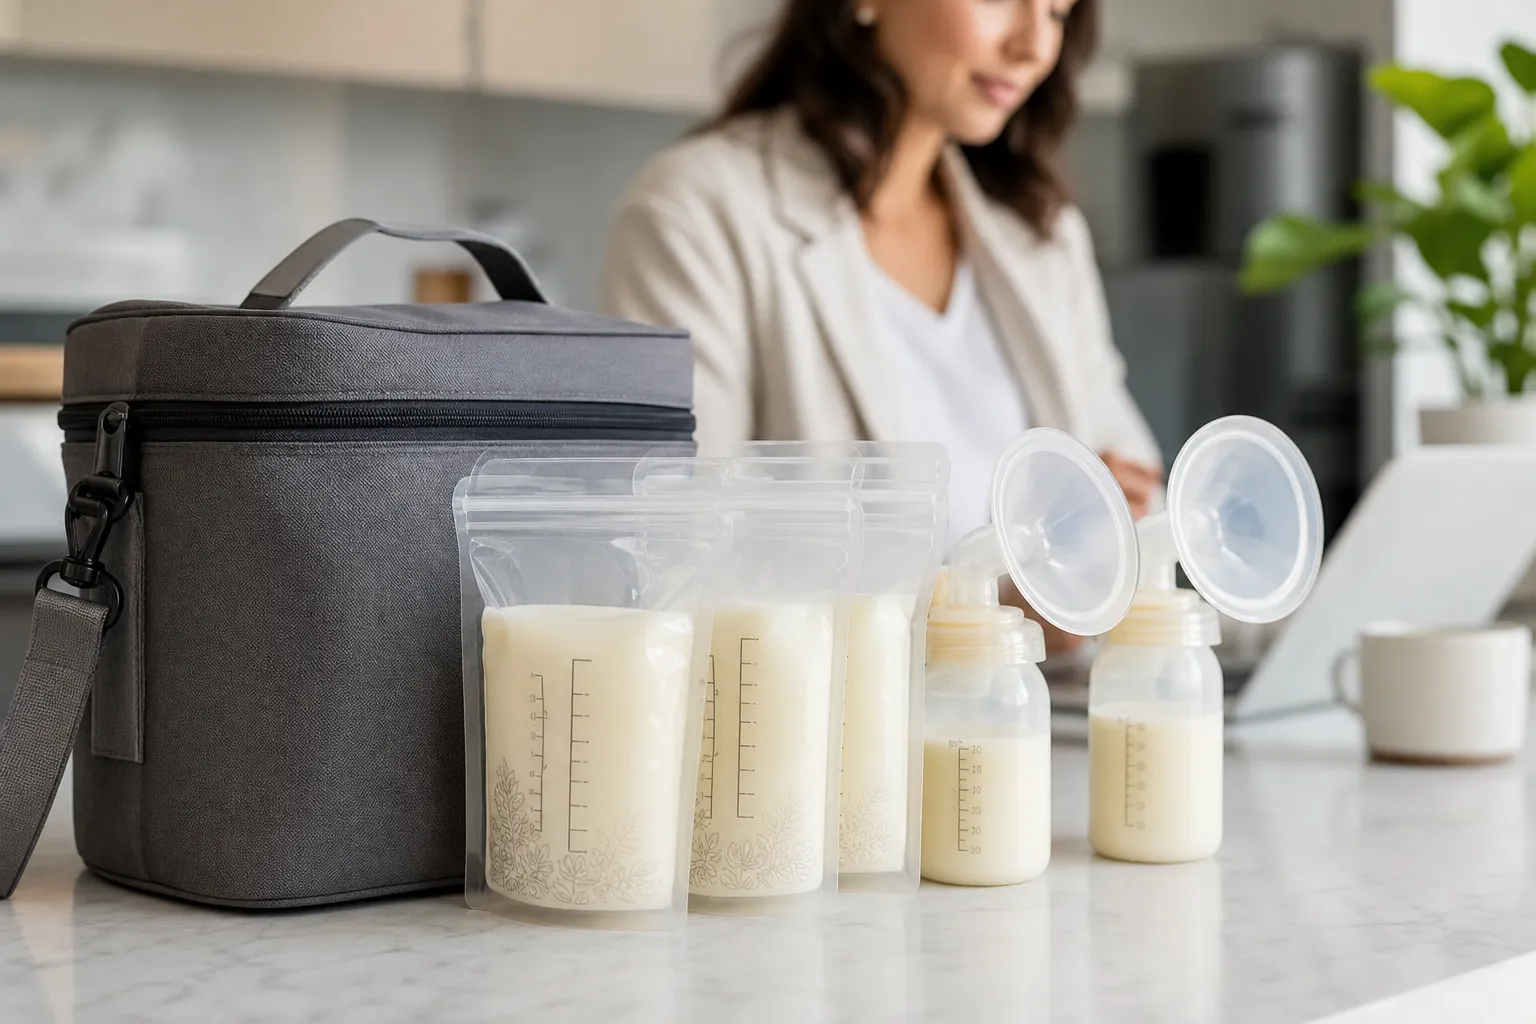
Pumping at work is a real juggling act. You’re watching the clock, finding a private space, and trying to keep your supply up — all while staying on top of your actual job. Then comes the commute home, and suddenly you’re holding a bag of freshly pumped milk wondering exactly what to do with it. Getting the storage of breast milk right during this stretch of the day matters more than most people realize, because the window between pumping and refrigerating is where things can quietly go wrong.
This guide walks you through the full workday scenario: what to pack before you leave the house, how to handle milk during your commute, and how to decide what goes in the fridge versus the freezer once you’re finally home.
Quick answer: how to store breast milk after a long workday
The core principle of any breast milk storage guide is straightforward: keep milk cold from the moment it leaves your body until it reaches a proper refrigerator or freezer. Freshly pumped milk can sit at room temperature for up to four hours, but on a workday with a commute, you rarely want to rely on that window. A well-insulated cooler bag with ice packs extends safe transport time to about 24 hours, giving you real flexibility.
Once you’re home, milk pumped that day goes directly into the back of the refrigerator — not the door — where the temperature stays most consistent. If you know you won’t use it within four days, move it to the freezer right away. That decision is easier to make at the end of the day than to second-guess it later.
The storage of breast milk from a workday also involves a few timing and labeling decisions that trip people up. The sections below cover each one in order.
Step-by-step process to store breast milk
Prepare the right setup
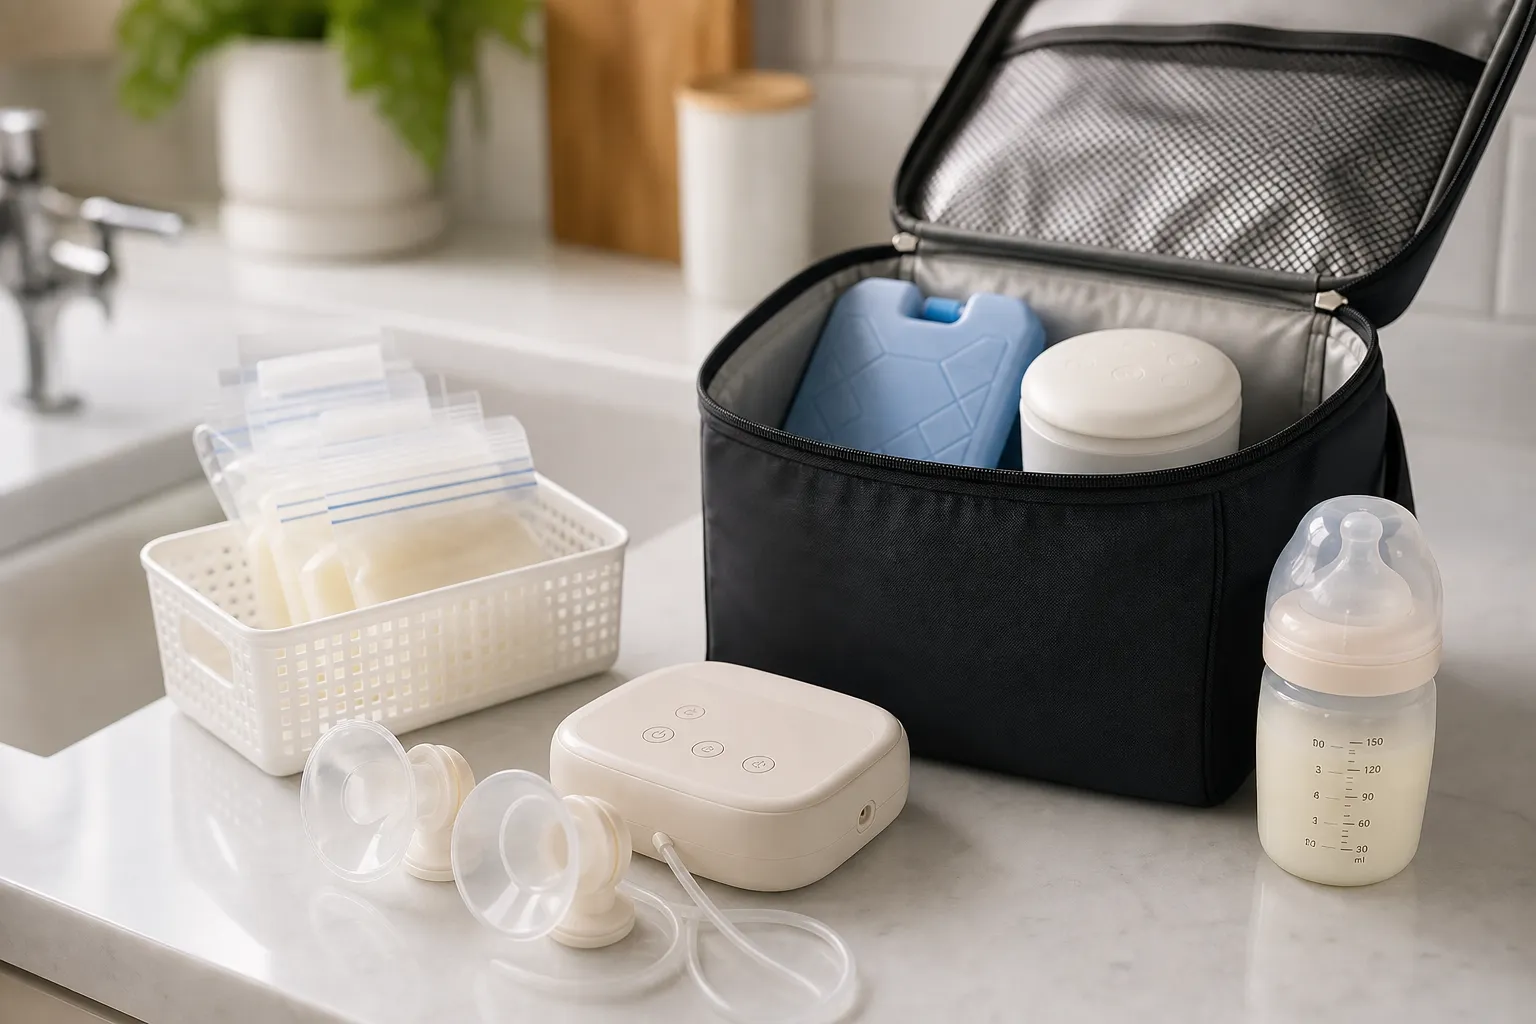
Good breast milk storage starts before you leave for work. The supplies you pack in the morning determine how smoothly the whole day goes.
What to bring:
- A quality insulated cooler bag sized to hold your expected pump output
- Enough ice packs to fill the bag — loose space means less insulation
- Breast milk storage bags or clean, hard-sided containers with tight lids (glass or BPA-free plastic)
- A permanent marker for labeling
- A small notepad or your phone to log pump times if you pump more than once
Label every container before you pump, not after. Write the date, the time you pumped, and the volume if you can. Doing this while you’re still at your desk is much easier than trying to write on a slippery bag with one hand while holding a pump part in the other.
Pitfall to avoid: don’t rely on the office refrigerator as your only plan. Shared fridges get left open, get turned down by a well-meaning colleague, or simply run warmer than they should. Your cooler bag with ice packs is a more reliable constant throughout the day.
Follow the core process
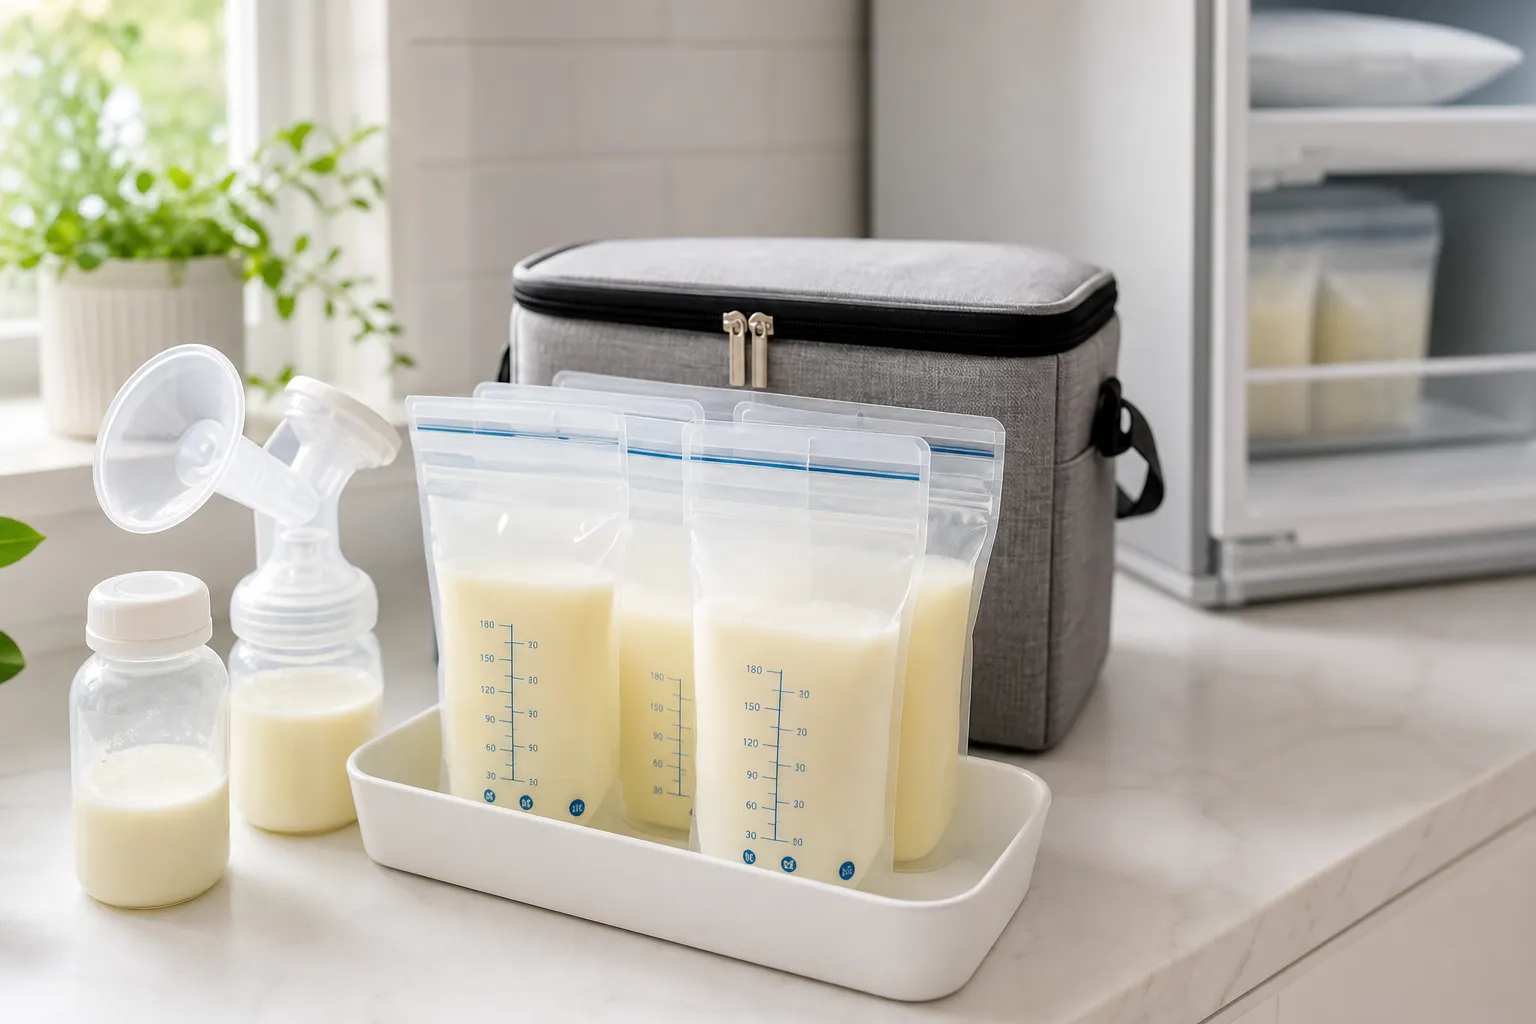
Here is the chronological sequence for a typical workday pumping session through to home storage.
During your pump session, transfer milk directly into labeled storage bags or containers. Seal them immediately and place them in your cooler bag. If you pump multiple times during the day, each session gets its own labeled container — do not combine milk from different sessions at work.
On the commute home, keep the cooler bag upright and away from heat sources. A car trunk in summer can get extremely hot; keep the bag in the passenger cabin with you. On public transit, keep it off the floor and out of direct sunlight through windows.
When you arrive home, move the milk into the refrigerator or freezer within 30 minutes. The back of the refrigerator, on a middle shelf, is the coldest and most stable spot. Avoid the door shelves entirely — temperature there fluctuates every time the door opens.
Combining milk from different sessions: you can combine milk from multiple pump sessions into one container, but only if both portions are already refrigerator-cold. Never add warm freshly pumped milk to cold stored milk. Chill the new milk in the refrigerator first for at least an hour, then combine.
Deciding between fridge and freezer: if you plan to use the milk within the next four days, the refrigerator is fine. If your schedule is uncertain or you already have a good supply in the fridge, freeze it now rather than waiting. Frozen breast milk keeps for about six months in a standard freezer and up to twelve months in a deep freezer.
Check whether it is working
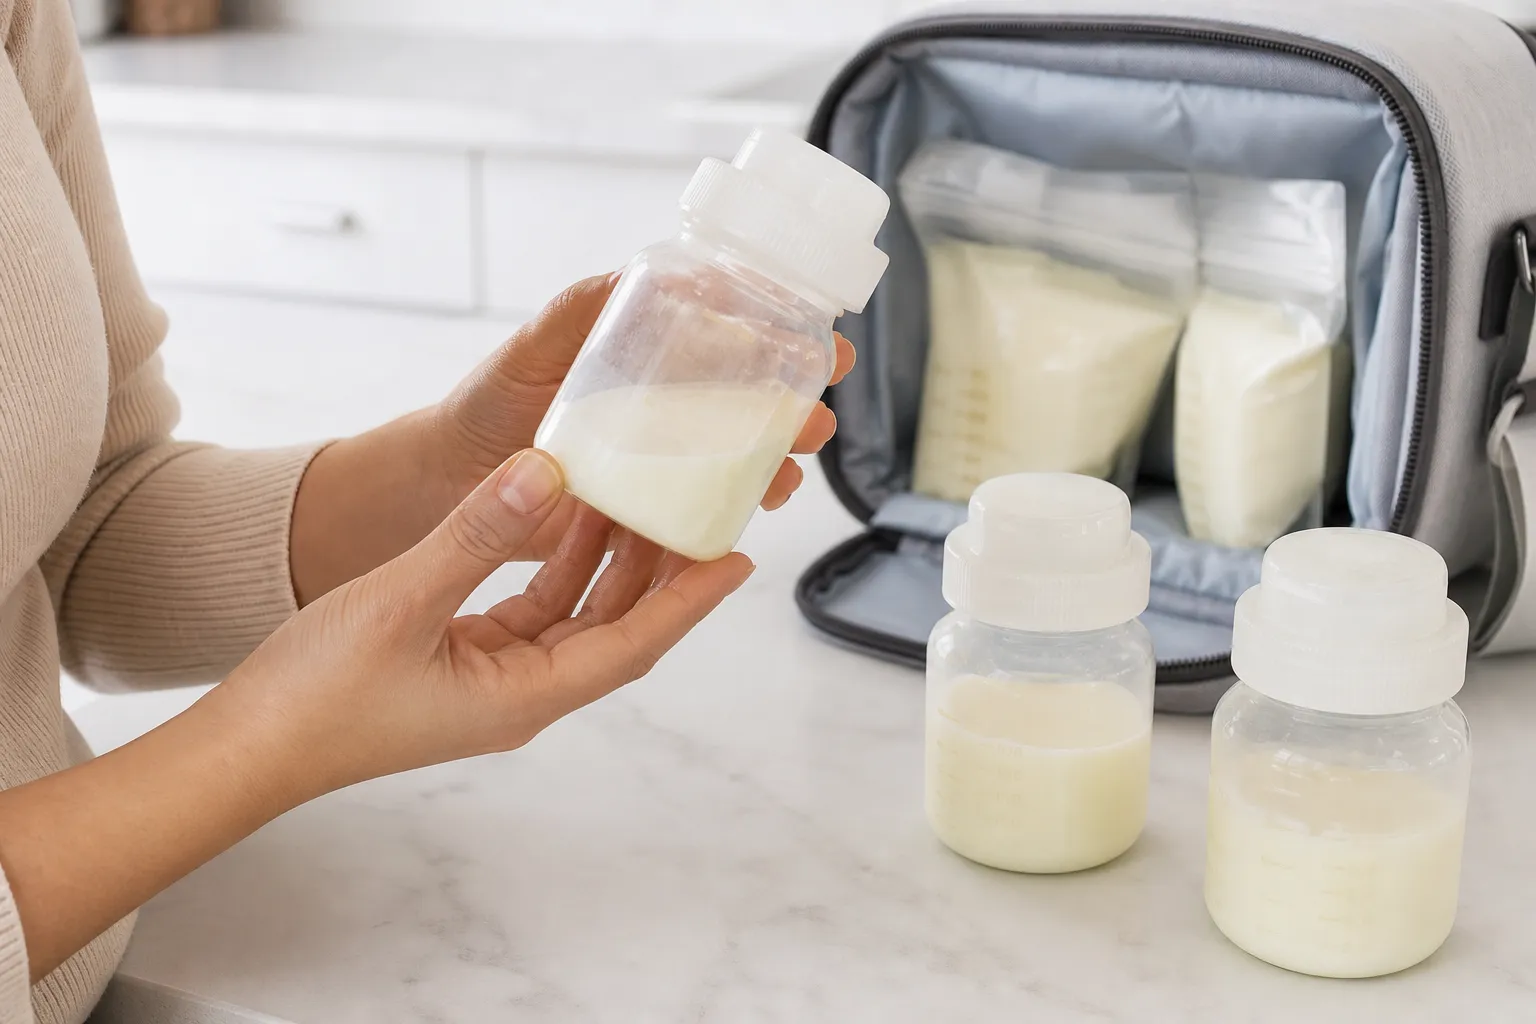
A few quick checks tell you whether your breast milk storage approach is actually holding up.
Temperature check: a small refrigerator thermometer is worth keeping in your fridge. The safe zone for stored breast milk is at or below 39°F (4°C). If your fridge runs warmer, adjust the setting or move milk to a colder shelf.
Smell and appearance check: stored breast milk naturally separates into a cream layer on top and a thinner layer below — that is normal. Swirl gently to recombine; do not shake vigorously. Breast milk can also smell slightly soapy due to an enzyme called lipase, which is harmless. What you are looking for is a sour or rancid smell, which signals the milk has turned and should be discarded.
Label accuracy check: once a week, go through your stored milk and confirm every container has a clear date. Rotate stock so the oldest milk gets used first. This simple habit prevents the frustrating discovery of expired milk at the back of the freezer.
Cooler bag performance check: after each workday, feel the ice packs when you get home. They should still be partially frozen. If they are completely thawed and the containers feel warm, your insulation is not sufficient and you need larger or additional ice packs.
Avoid the common mistakes
Even parents who have been pumping for months run into the same recurring problems with storage of breast milk during work hours.
Skipping labels: it feels like a small thing until you have six identical bags in the freezer with no dates. Always label before you pump.
Overfilling containers: breast milk expands when frozen. Fill storage bags and containers to about three-quarters capacity, not to the top. Overfilled bags split at the seams in the freezer and you lose the milk entirely.
Leaving milk at room temperature too long: if a meeting runs over and your pumped milk sat out for three hours, that is fine — you still have about an hour of room-temperature time left. But if it sat out for closer to four hours and you have a long commute ahead, refrigerate it as soon as you can and use it within the next day rather than freezing it.
Re-freezing thawed milk: once breast milk has been thawed in the refrigerator, use it within 24 hours. Do not refreeze it. This is one of the most common breast milk storage guide mistakes, and it is easy to do accidentally when you thaw more than your baby needs.
Storing milk in the freezer door: just like the refrigerator door, the freezer door experiences temperature swings. Store milk in the back of the freezer where the temperature is most stable.
When to adjust your store breast milk approach
Most workday pumping routines settle into a rhythm fairly quickly, but a few situations call for a different approach.
If your commute is longer than 90 minutes, invest in a higher-quality insulated bag with a hard shell rather than a soft-sided tote. The extra insulation matters when you are on the road for extended periods, especially in summer.
If your baby is in the NICU or has a compromised immune system, the standard storage guidelines may not apply. In those cases, follow the specific guidance from your care team, which is often more conservative on timing and temperature.
If you are building a freezer stash rather than using milk day-to-day, consider freezing in smaller portions — two to four ounces per bag — rather than larger amounts. Smaller portions thaw faster and reduce waste when your baby does not finish a full feeding.
If you notice your milk smells consistently soapy or your baby refuses it after thawing, you may have high lipase activity. Scalding milk briefly before storing can deactivate the enzyme. This does not affect the nutritional value but does require an extra step in your routine.
If you are traveling for work, the same principles apply but logistics get more complicated. A good breast milk storage guide for travel would cover dry ice shipping and airline rules — worth researching before your first trip.
FAQ about store breast milk
What is the 4 4 4 rule for breast milk?
The 4 4 4 rule is a simple memory aid for breast milk storage: four hours at room temperature, four days in the refrigerator, and four months in the freezer as a conservative guideline.
What is the 5 rule for breast milk storage?
The “rule of 5” refers to five hours as the maximum room-temperature window some sources cite for freshly pumped milk. Most major health organizations use four hours as the standard guideline for general use.
Is it better to store breast milk flat or upright?
Flat is better for freezer storage because bags take up less space and thaw more evenly. Upright works fine in the refrigerator where freezing is not a concern.
How long can you store breast milk after feeding?
If your baby has fed directly from a bottle, use any remaining milk within two hours. Bacteria from your baby’s mouth enter the bottle during feeding, which shortens the safe window significantly.
Can babies drink cold breastmilk?
Yes, many babies accept cold or room-temperature breast milk without any issue. Warming is a preference, not a safety requirement, as long as the milk itself has been stored correctly.
What happens if you use refrigerated breast milk after 4 days?
Breast milk stored beyond four days in the refrigerator has a higher risk of bacterial growth. It is safest to discard it rather than use it, even if it smells normal.
What should readers know first about storing breast milk?
The single most important principle is keeping milk cold consistently from pump to storage. Gaps in the cold chain — not the total time — are where spoilage most often happens.
How do you choose the right breast milk storage approach?
Base your decision on how soon you will use the milk. Fridge for milk you will use within four days; freezer for anything beyond that or when you want to build a supply buffer. —
Recommended next steps
The most effective breast milk storage routine is one you can actually repeat every workday without extra mental load. Start by auditing what you already have: check that your cooler bag holds temperature well, that you have enough storage bags or containers for a full day of pumping, and that your freezer has a dedicated section for breast milk with the oldest bags at the front.
From there, the habit of labeling before you pump and deciding fridge-versus-freezer the moment you walk in the door will handle most of the complexity automatically. If you are still figuring out the pumping side of the equation — output, timing, or equipment — exploring resources on wearable pump options and pumping schedules at oliviamom.com can help you build a more complete routine. The storage piece and the pumping piece work together, and getting both right makes the whole workday experience considerably less stressful.
Meredith Calloway spent four years as a lactation support writer and product researcher before joining the Olivia by Lolafo editorial team, where she covers pumping gear, milk storage, and the unglamorous logistics of feeding a baby in the real world. She approaches every review and how-to the way she’d explain it to a friend texting from a parking lot — with specific numbers, honest trade-offs, and zero filler. Her work draws on published lactation research, hands-on product testing, and direct input from pumping communities including r/ExclusivelyPumping and IBCLC-reviewed sources. If a suction spec matters or a flange fit issue is being undersold by a brand, she’ll say so.
Leave a Reply